 In this part of my Blender Tutorial I start creating a more complex model based on Mr. Incredibles car in the movie The Incredibles. I’m going to cover everything at a slower rate so that everyone will know the exact steps for modeling complex shapes.
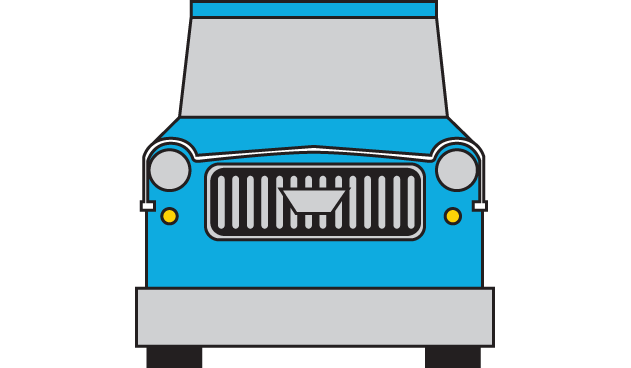
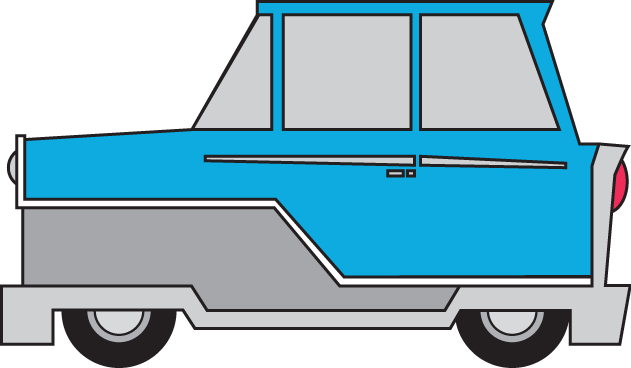
Here are the images I used to model the car Front, Back and Side. Following the video I also have a cheat sheet in which I list the key codes I used in the video.

If you like videos like this consider donating $1, or simply turn off AdBlock.
Cheat Sheet
1. In Side Properties Panel -> Load Reference Images by opening a UV Image Editor View -> Open Image

	a. Change from back to front and change opacity

2. Mirror car

	a. Shift + s -> Cursor to Center

	b. Ctrl + r -> Loop cut to center

	c. Select All + Mirror Modifier

3. Draw car shape

	a. Edit Mode -> Vertice Select

	b. Create the general shape of the cars shell by dragging vertices

	c. Use Ctrl + r (loop cuts) -> b (box select) to create the car

4. Cut out wheel wales and e + x vertices to close (Mirror + Clipping On)

	a. Straighten diagonal line : Select Vertices -> s (x, y, or z) 0 Enter

	b. Add vertices : Select edge -> w -> Subdivide